
Have you ever released a new feature that worked perfectly on staging but broke right after going live? That’s exactly the kind of risk end-to-end testing helps reduce. It simulates the product from the user’s perspective — from the first click to the outcome. Let’s take a closer look at what E2E testing is, what tools to choose, and how to build reliable validation flows.
When E2E Testing Is a Must — And When You Can Skip It
End-to-end validation verifies the product all the way across — exactly as the customer sees it. Starting with a click in the UI, through backend communication and third-party integrations, everything should work as a single system.
This type of assessment is useful when:
- you need to verify key user actions like registration, purchases, or payments;
- the product relies on third-party services like payment gateways, emails, or webhooks;
- a failure could directly affect the business and cause financial loss.
In outsourced software development, you can sometimes skip full-flow tests — for example, when assessing internal module logic. Unit or integration approaches are better suited here — they’re faster and easier to maintain. And if the scenario is rare and doesn’t affect business operations, full end-to-end coverage may be unnecessary.
Using E2E test cases for low-priority flows only adds costs and slows down releases. Learn how to implement E2E automation to focus on what really matters. If you're new to automation, start with the basics: what is QA automation and how it works.
How E2E Testing Differs from Other Types of Testing
End-to-end verification is frequently mistaken for other testing methods, but each serves a different role and offers a different level of coverage.
- E2E vs UI Testing. UI validation checks only the interface, while end-to-end spans the entire user journey — starting with the initial click and ending with the backend response.
- E2E vs Integration Testing. Integration checks focus on how modules interact, whereas journey-level examine the system as a whole from start to finish.
- E2E vs UAT. UAT is done by hand at the final stage, whereas cross-system is automated and catches issues earlier in the pipeline.
- E2E vs System Testing. System assessment validates the overall system functionality. Cross-system simulates real-world user behavior and journeys.
In short, full-flow offers the most comprehensive level of evaluation across the product.
How to Choose Tools for E2E Testing
The right tools should align with your product type, evaluation scenarios, and team workflows. Here's a quick reference map to help you navigate the options more easily.
| Category | Tools | When to Use |
|---|---|---|
| Web UI | Playwright, Cypress, Selenium | When testing a web app's UI. Playwright — great for running parallel scenarios; Cypress — ideal for modern frontend frameworks; Selenium — best for wide browser compatibility. |
| Mobile App | Appium, Espresso (Android), XCUITest (iOS), Detox | For native or hybrid apps on iOS and Android. |
| API | Postman, REST Assured | When backend logic needs validation without a UI. Postman — for quick API collections; REST Assured — for Java-based automation. |
| Visual Tests | Percy, Applitools | When visual changes need to be tracked (like layout or color differences). |
| Cross-Browser | Real Device Cloud, Sauce Labs | To evaluate how your product performs across different devices and browsers. |
To help you get the most out of your tools, here are a few practical tips:
- Don’t try to cover everything with a single E2E test framework. Different types of verifications require different tools — use a set that matches each category optimally.
- Build your stack around the testing pyramid. Unit and integration tests should be the foundation. System-level evaluations are better reserved for business-critical flows.
- Use cloud platforms like BrowserStack. Cross-platform assessment and parallel runs help cut down execution time significantly.
- Start with ready-made templates and an environment. It speeds up the setup of workflow-level, CI/CD integration, and test data management.
Learn how to hire QA automation engineers to bring these practices to life.
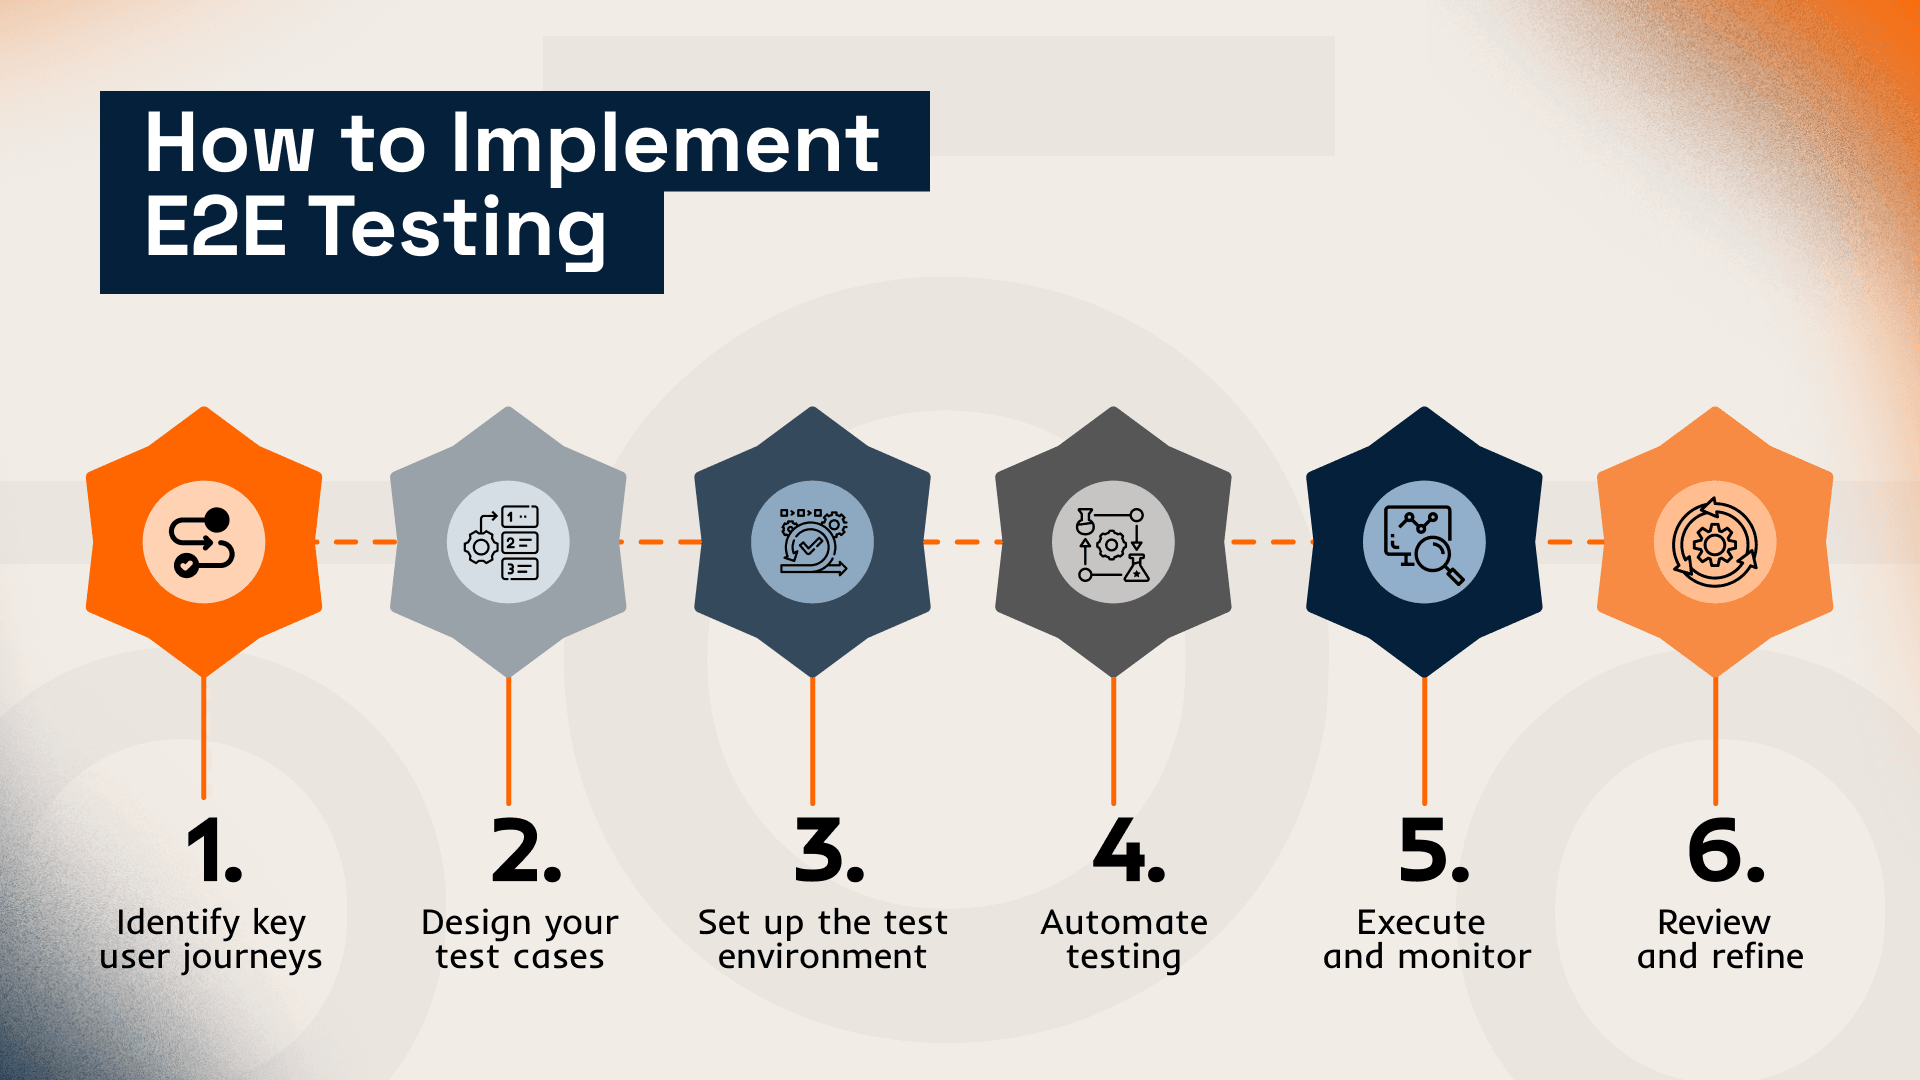
How to Build an Optimal E2E Test Suite
One common mistake teams make is creating hundreds of checks for every possible scenario. To avoid this, use risk-based testing: focus only on scenarios where failure would cost money or damage user trust.
- Map the flows. Identify key user paths — sign-up, checkout, payments, email/webhook interactions. This helps you separate critical scenarios from low-priority ones.
- Balance test granularity. Apply the horizontal vs vertical testing approach: combine vertical checks with horizontal checks (end-to-end flows across integrations). Vertical tests quickly detect issues within subsystems; horizontal ones ensure stability across critical user flows.
- Set clear priorities. Choose 10–20 E2E test cases that cover your most vital scenarios. This reduces flakiness, saves QA resources, and improves overall validation effectiveness.
The goal is to focus on what really counts and build a stable, change-resilient validation architecture.
What You Need for Reliable E2E Test Execution
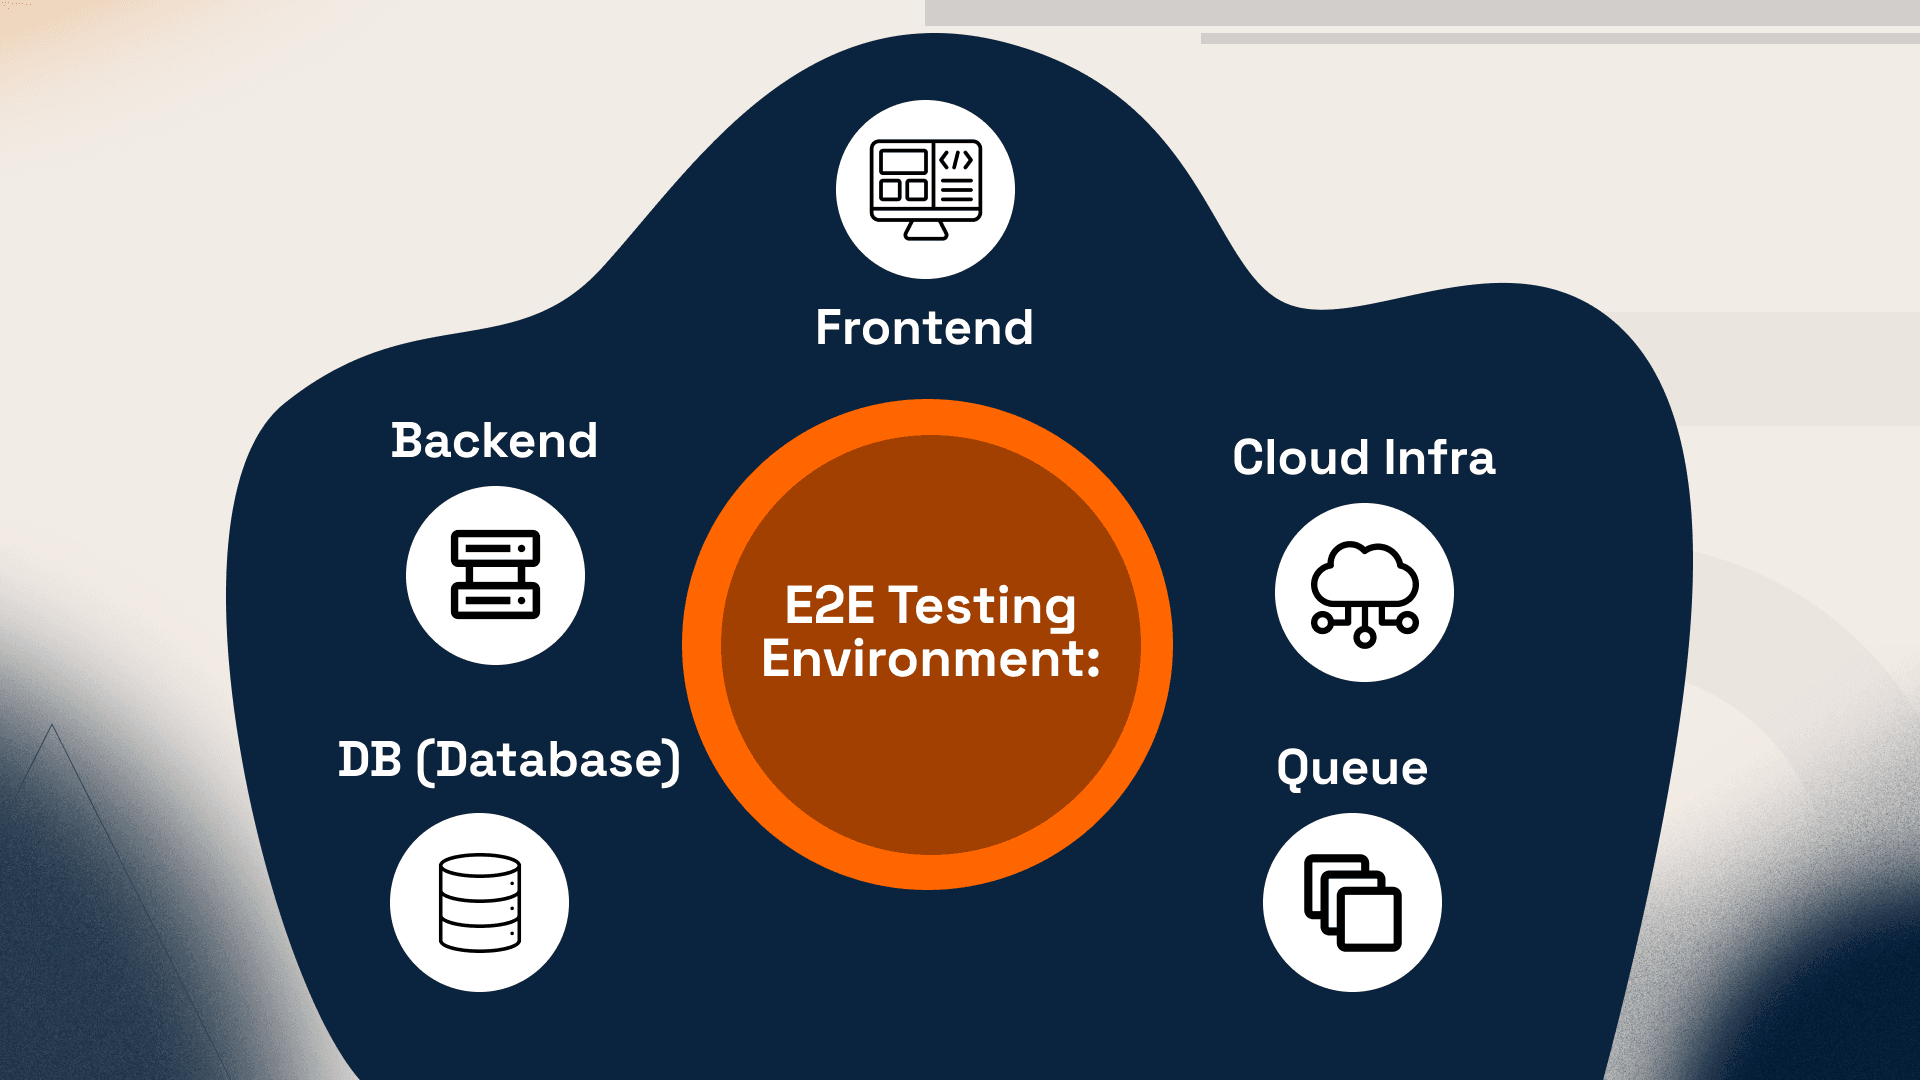 Even the most stable code can fail if your environment or data isn't predictable. To avoid this, invest in controlled preview environments.
- Set up preview environments in CI. Automatically spin up a clean sandbox environment for each pull request and run end-to-end runs there. This isolates validations and ensures consistency.
- Leverage test data management properly. Use seeds, fixtures, and idempotent teardown to guarantee each assessment run starts in a known, clean condition.
- Reduce external dependencies. Stub or mock third-party services when the integration itself isn't the focus of checks. This avoids random failures due to service downtime or rate limits.
These practices boost test stability and help your team ship features faster with confidence.
How to Keep Flaky Tests Under Control
Flaky tests are inconsistent runs that succeed or fail randomly, although there are no changes in the code or environment. They confuse the team, slow down releases, and waste time chasing non-existent bugs. Here’s how to reduce their number:
- Keep cases isolated — each scenario should run independently of others.
- Avoid using «sleep» — instead, wait for specific events or states.
- Add retries only when truly needed, and always set a retry limit.
- Control risky areas — network calls, third-party services, and async flows.
Set a flake budget — for example, no more than 2% of your spec suite should be flaky. Track key metrics to stay in control:
- Pass rate — how many scenarios succeed on the first run.
- Flake rate — how many fail randomly but pass on retry.
- MTTR (Mean Time to Recovery) — how long it takes to fix a failed check.
These help maintain trust in automation and reduce execution noise in your workflows.
Two Practical Stacks to Quickly Launch E2E Testing
 Getting started with automated end-to-end validation can feel overwhelming. To speed things up, here are two minimal tool stacks that cover key scenarios.
For a web product on a JavaScript stack:
- Use Playwright or Cypress for automating UI specs.
- Add Postman for basic API checks.
- Integrate Percy for visual regression tracking.
- Run tests in BrowserStack or another cloud-based device farm — this ensures cross-browser coverage and support for multiple platforms.
For a mobile app:
- Use Appium with real devices to evaluate the UI.
- Isolate specific API flows to test the backend without passing unnecessary.
- Set up a smoke full-flow verification suite directly in the CI pipeline to validate critical flows on every commit.
This tool set enables you to execute cases effectively, catch issues early, and keep your product stable throughout the development process.
How to Integrate E2E into CI/CD Without Slowing Down Releases
To make system-level assessment an effective part of the release process, it needs to be properly embedded into your CI/CD pipeline.
- Set up PR-smoke specs — quick runs (2–10 mins) that provide rapid responses for every pull request.
- Run Nightly regressions — a full test suite covering 10–20 critical scenarios on staging every night.
- Configure quality gates — automated rules that block releases if critical scenarios fail.
- Use parallel execution to reduce runtime and control costs.
Curious how other teams handle it? Explore real QA case studies to see practical examples of cross-system automation in action.
Metrics That Show the Real Impact of E2E Testing
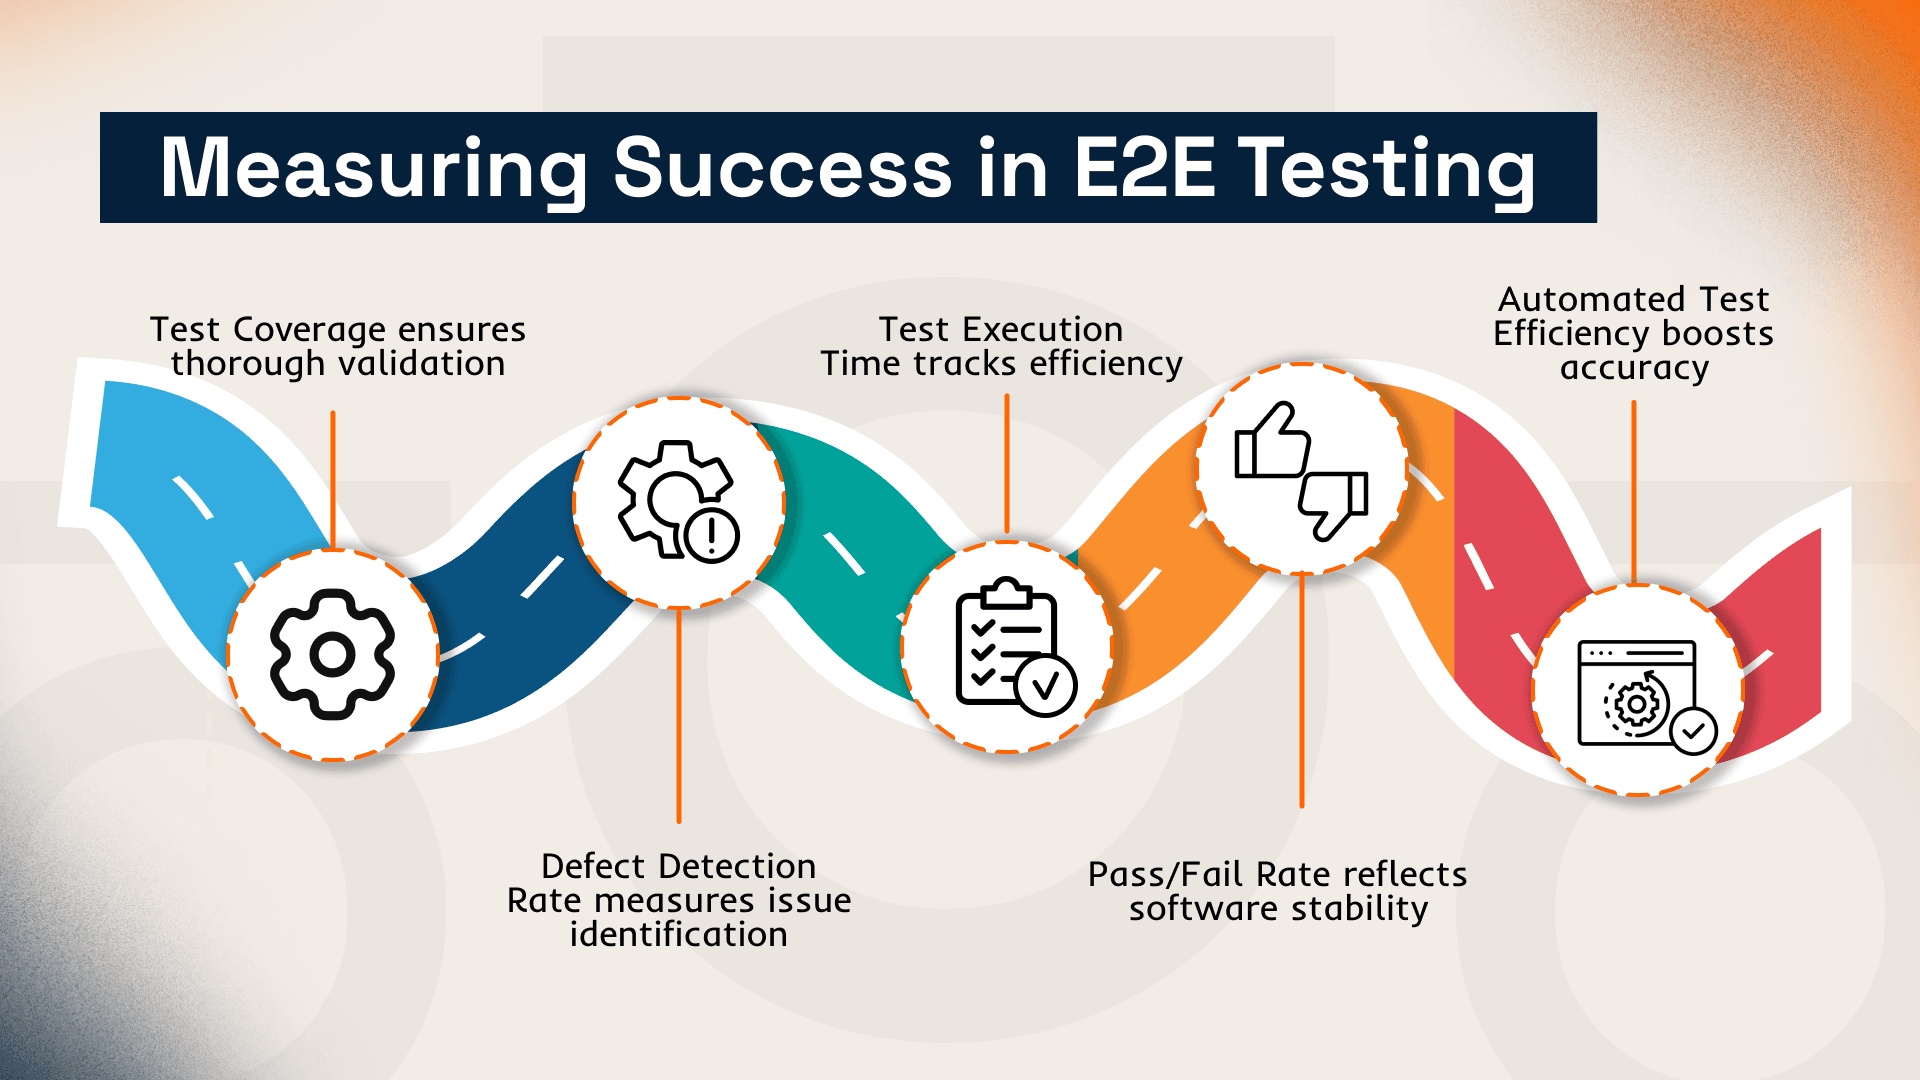 To justify investments in end-to-end testing services, you need to speak the language of numbers. Track the key metrics that reflect real value:
- Lead time — the time between creating a pull request and releasing it to production. The shorter it is, the faster your team delivers value to users.
- Number of defects in production — a drop in incidents after introducing full-flow indicates better validation coverage and quality control.
- Flaky test debug cost — how much time is spent on reruns, analyzing false failures, and regaining trust in spec results. High values here point to technical debt and lost productivity.
- Coverage of key user flows — what percentage of essential scenarios is actually covered by application-wide cases.
Tracking these metrics helps assess the ROI of E2E automation — how much time, money, and reputational risk it has saved.
Conclusion
End-to-end verification is more than a technical layer — it’s a business tool. With preview environments, stable pipelines, smart scenario selection, and integration into CI/CD, user-journey automation delivers measurable ROI. That’s why it’s becoming a must-have in modern QA strategies.
If you're looking to implement E2E in your project or hire QA Specialists to support your team, talk to our E2E testing experts.